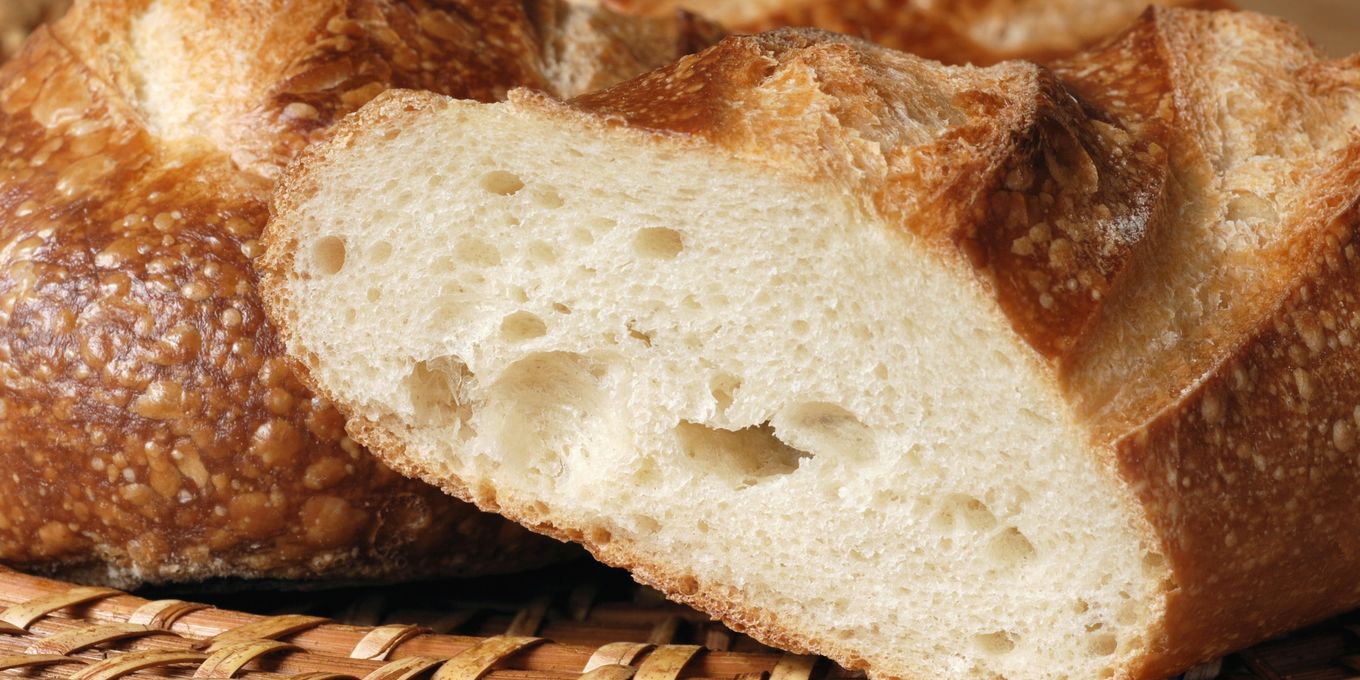
Whole wheat berries are one of the cheapest and longest-keeping foods a household can put away. Kept cool and dry in sealed containers they last 30 years or more, and fresh bread from home-ground flour is one of the real comforts of a long emergency.
Leavening is the weak link. Commercial dry yeast is a living product. Unopened, it keeps a year or two at room temperature and longer in the freezer, but once it passes its date it loses strength steadily until the dough no longer rises. Without it, the choice is flatbread, like matzah or tortillas, or heavy loaves.
Sourdough starter is the usual answer, but it has to be fed and kept going. Yeast water is a simpler alternative that home bakers in Japan helped popularize. Wild yeasts live on the skins of fresh and dried fruit, on vegetables, and on leafy herbs such as mint. Given water, warmth and a few days, they multiply into a bubbly liquid that can stand in for the water in a bread recipe.
You will need
- A clean glass jar with a lid (a quart canning jar is ideal)
- Fruit, vegetables or herbs with the skin intact: unpeeled apple slices, grapes and raisins are the most reliable to start with; wild mint also works
- Clean water (unchlorinated is better, since chlorine can slow the yeast; boiled and cooled tap water is fine)
- Optionally, a teaspoon of sugar or honey to feed the yeast
The choice of fruit matters more than it seems. Supermarket fruit is often washed and waxed, which strips away much of the wild yeast, so homegrown or unwaxed fruit starts faster. Raisins and other dried fruit work well as long as they are not treated with sulfites, a preservative that suppresses yeast; the label will say. Rinse off dirt, but do not scrub the skins.
Making the yeast water
- Slice the fruit or vegetables without peeling them. Fill the jar a quarter to half full.
- Add water until the jar is about three-quarters full. Stir in the sugar if using it.
- Put the lid on and set the jar somewhere warm, such as a sunny windowsill or near the stove.
- Once a day, open the lid briefly to let gas escape, then close it and give the jar a gentle shake.
- After about three days, and sometimes up to a week in a cool kitchen, the liquid will fizz when opened, with bubbles rising steadily and a pleasant fruity, slightly winey smell. The fruit usually floats. The bubbles show that the yeast is feeding on the sugars in the fruit.
Throw the batch out and start again if it grows fuzzy mold, turns slimy, or smells rotten rather than yeasty. A white film on the surface can be harmless, but when in doubt, discard it.
Baking with it
Strain the liquid and use it in place of the water in any ordinary bread recipe. Mix and knead the dough as usual, then let it rise. Wild yeast is slower than packet yeast: allow several hours, or an overnight rise in a cool room, until the dough has roughly doubled. Shape, let it rise again, and bake.
Many bakers get a stronger rise by first mixing yeast water with an equal volume of flour, leaving it for several hours until bubbly, and adding that to the dough.
Keep leftover yeast water in the refrigerator and use it within a week or so. To keep a supply going, pour off most of the liquid, add fresh fruit and water, and start the cycle again.